
Installing the Ladibug software
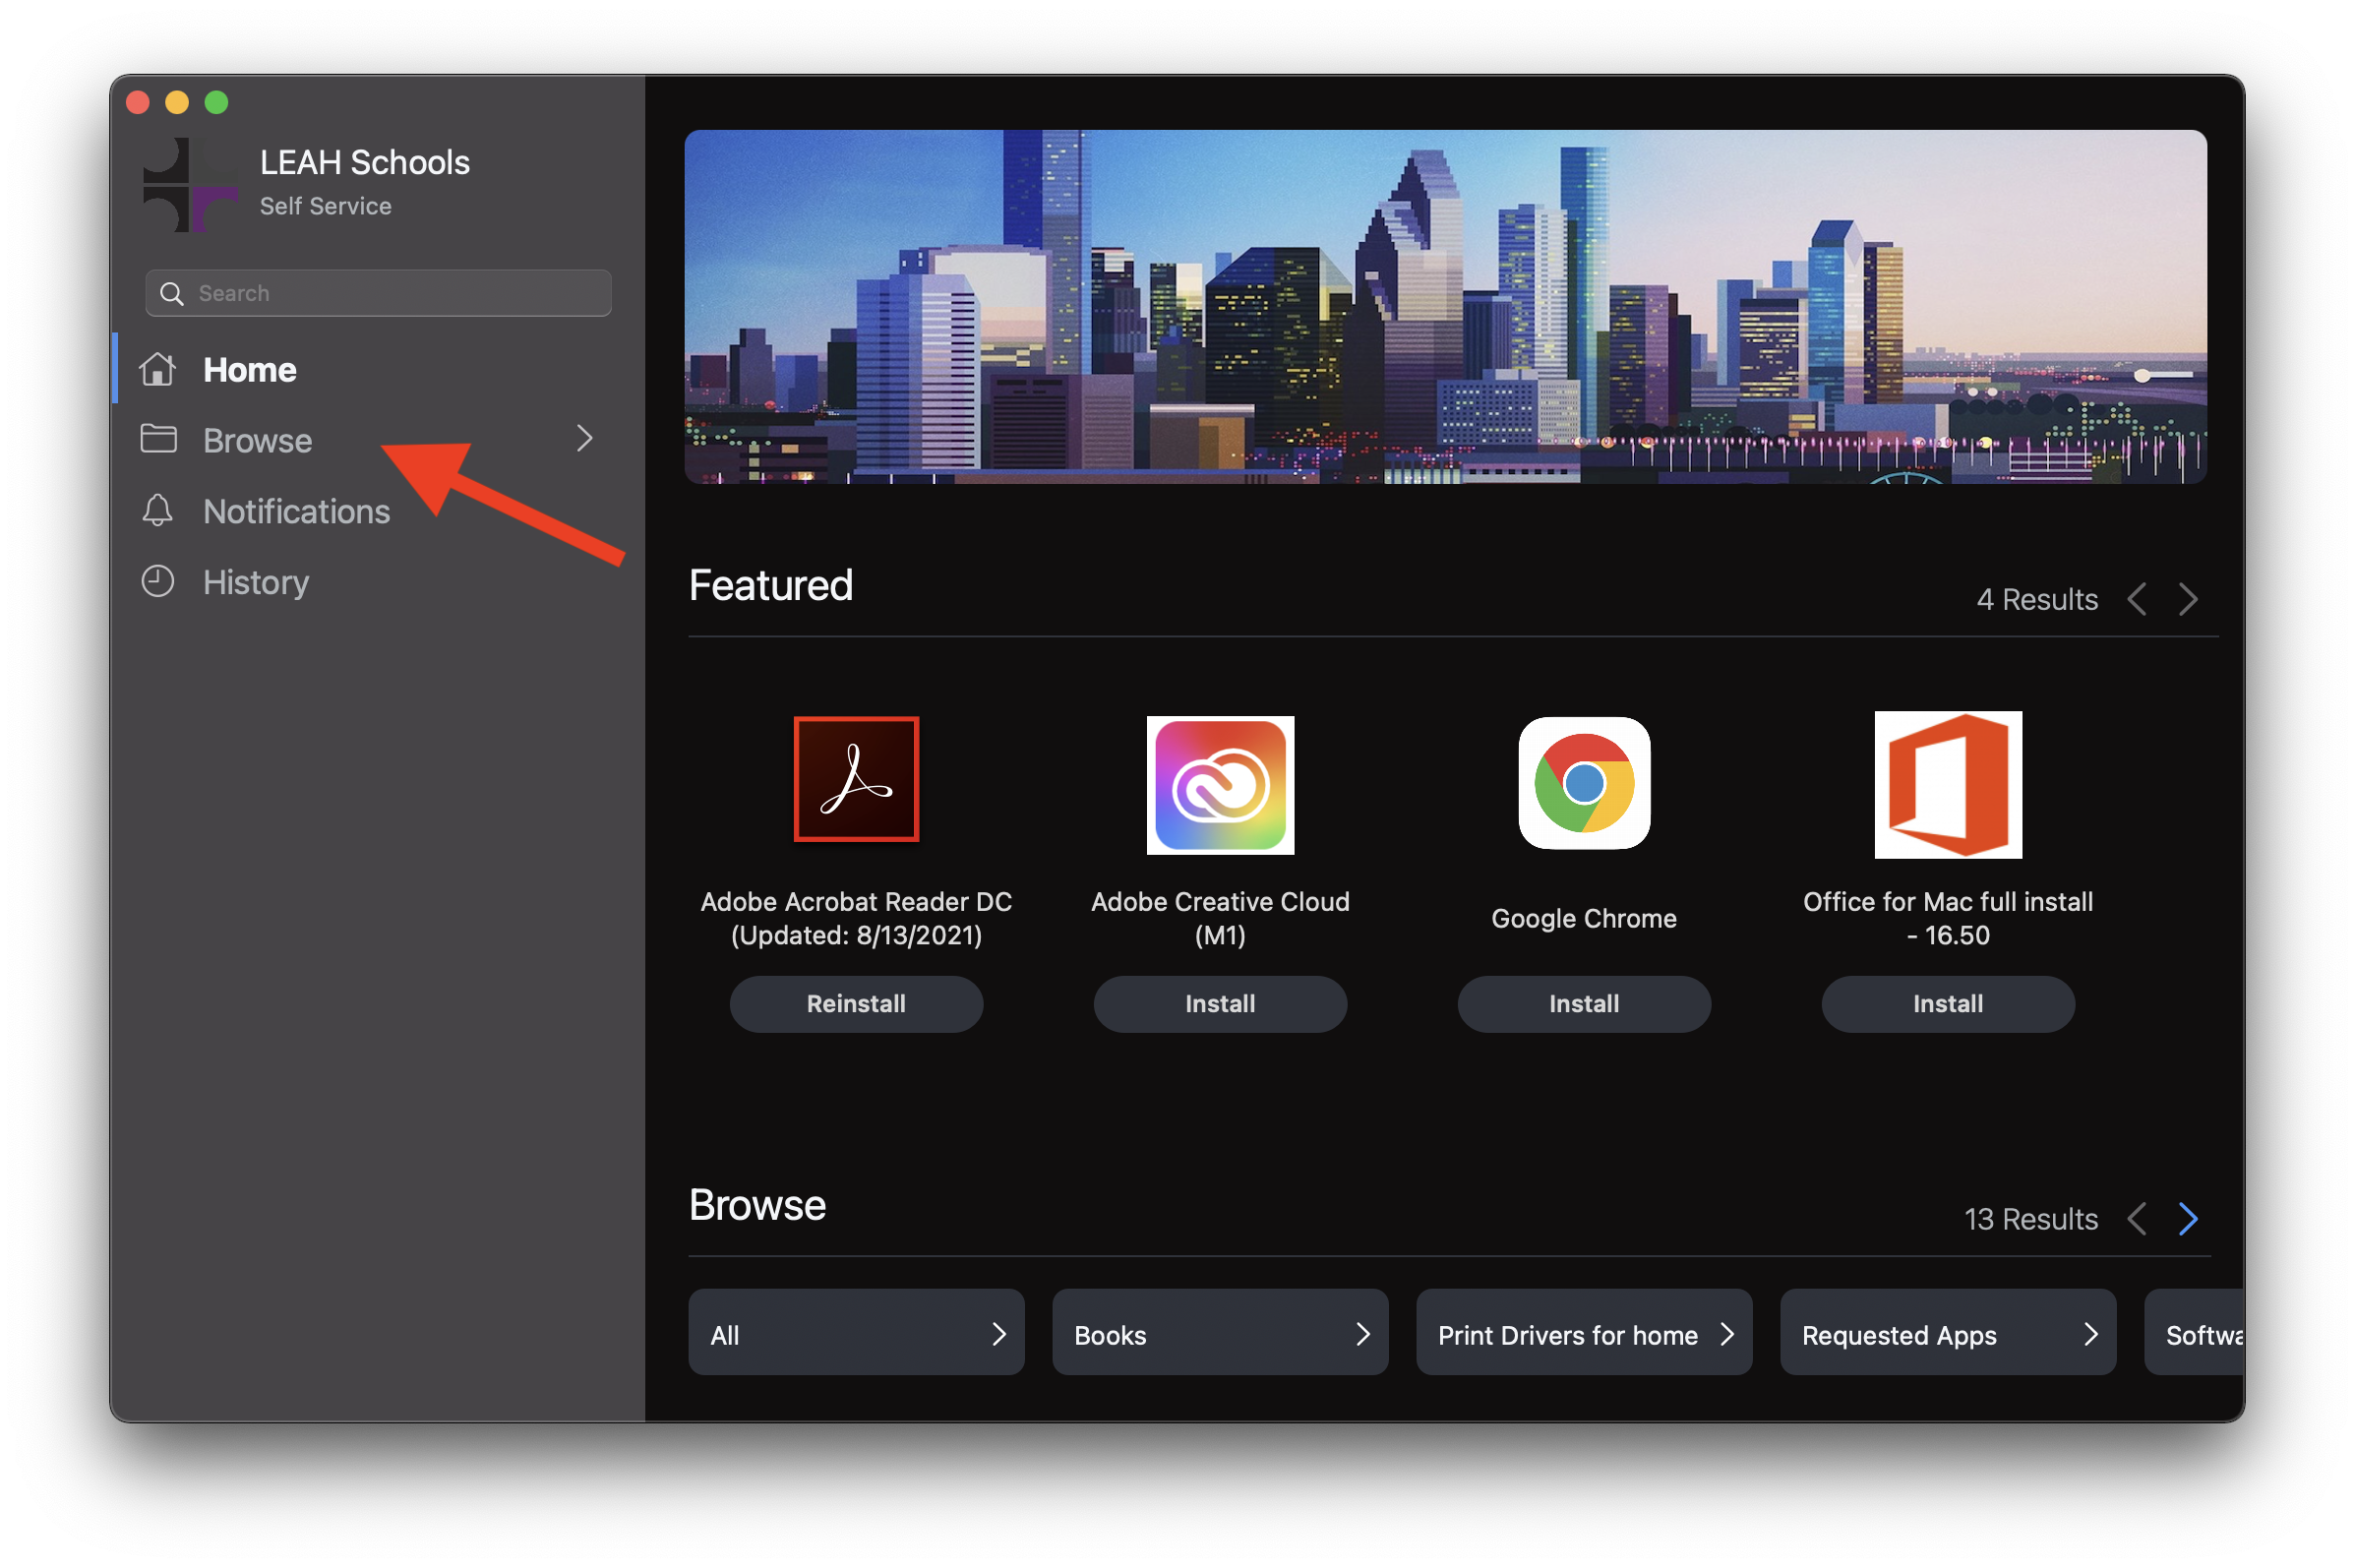
To install the Ladibug software, first open your Self Service app and click the "browse" section on the left
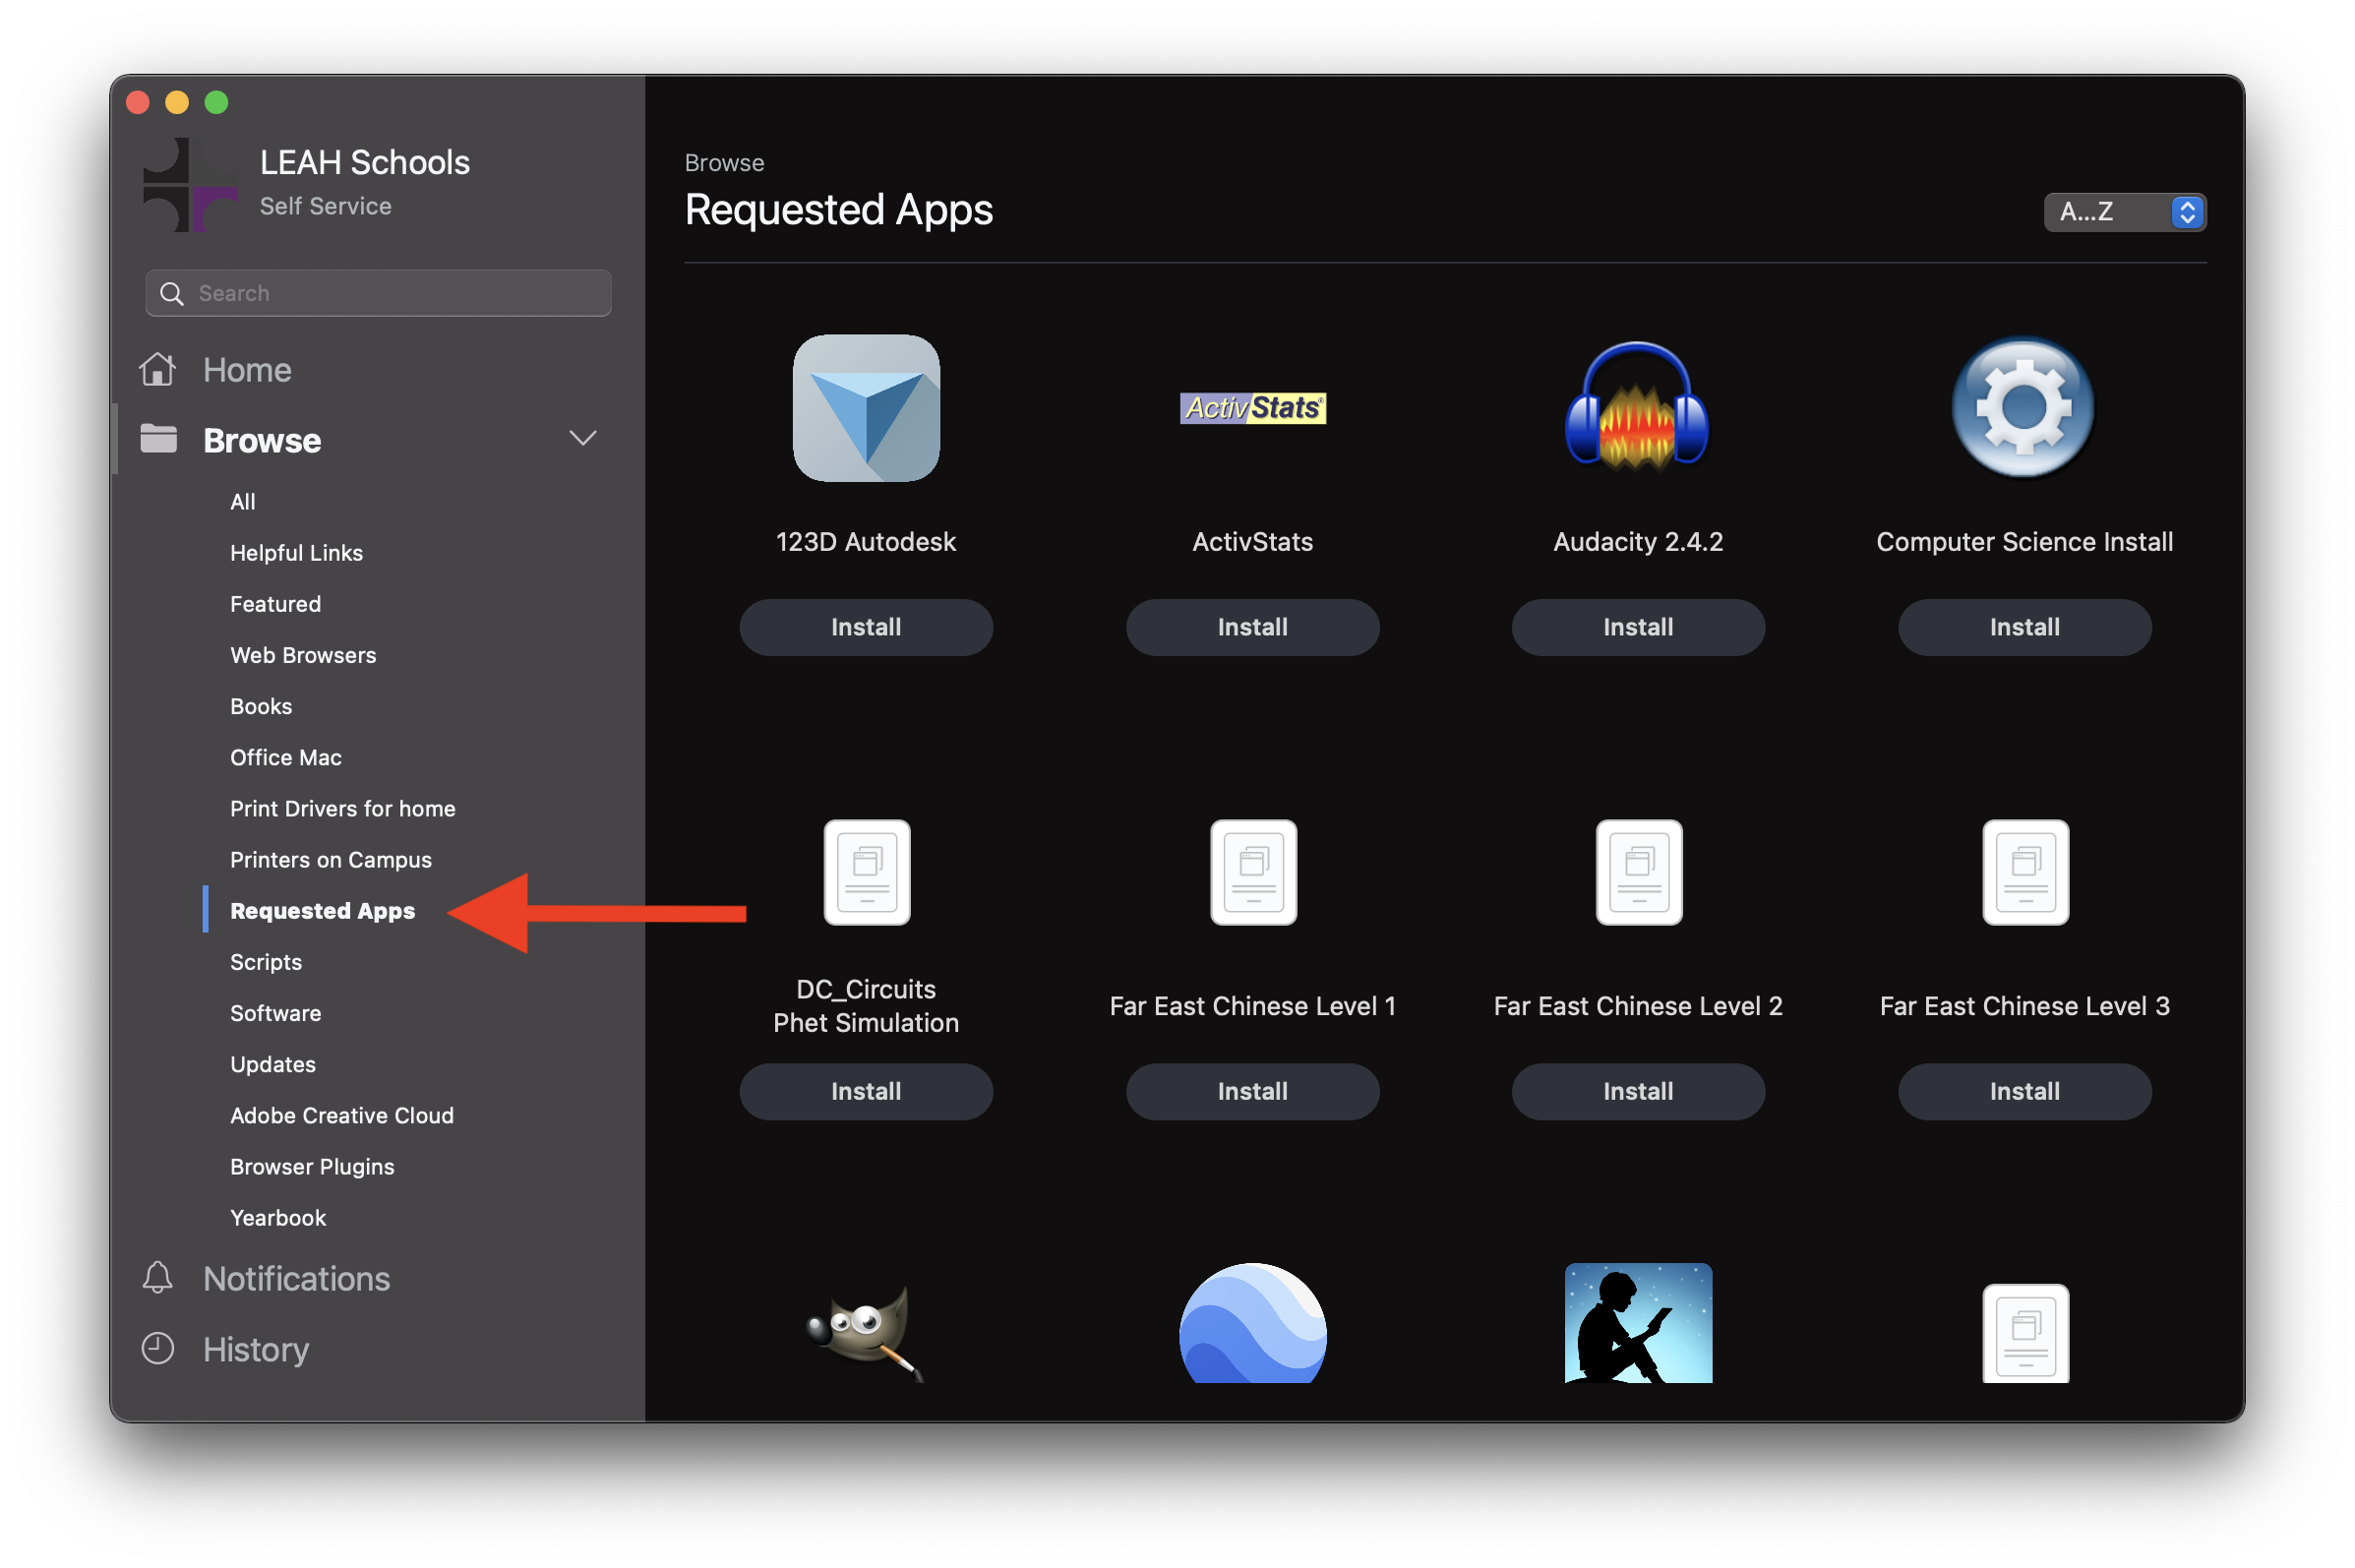
Now click on "Requested apps"
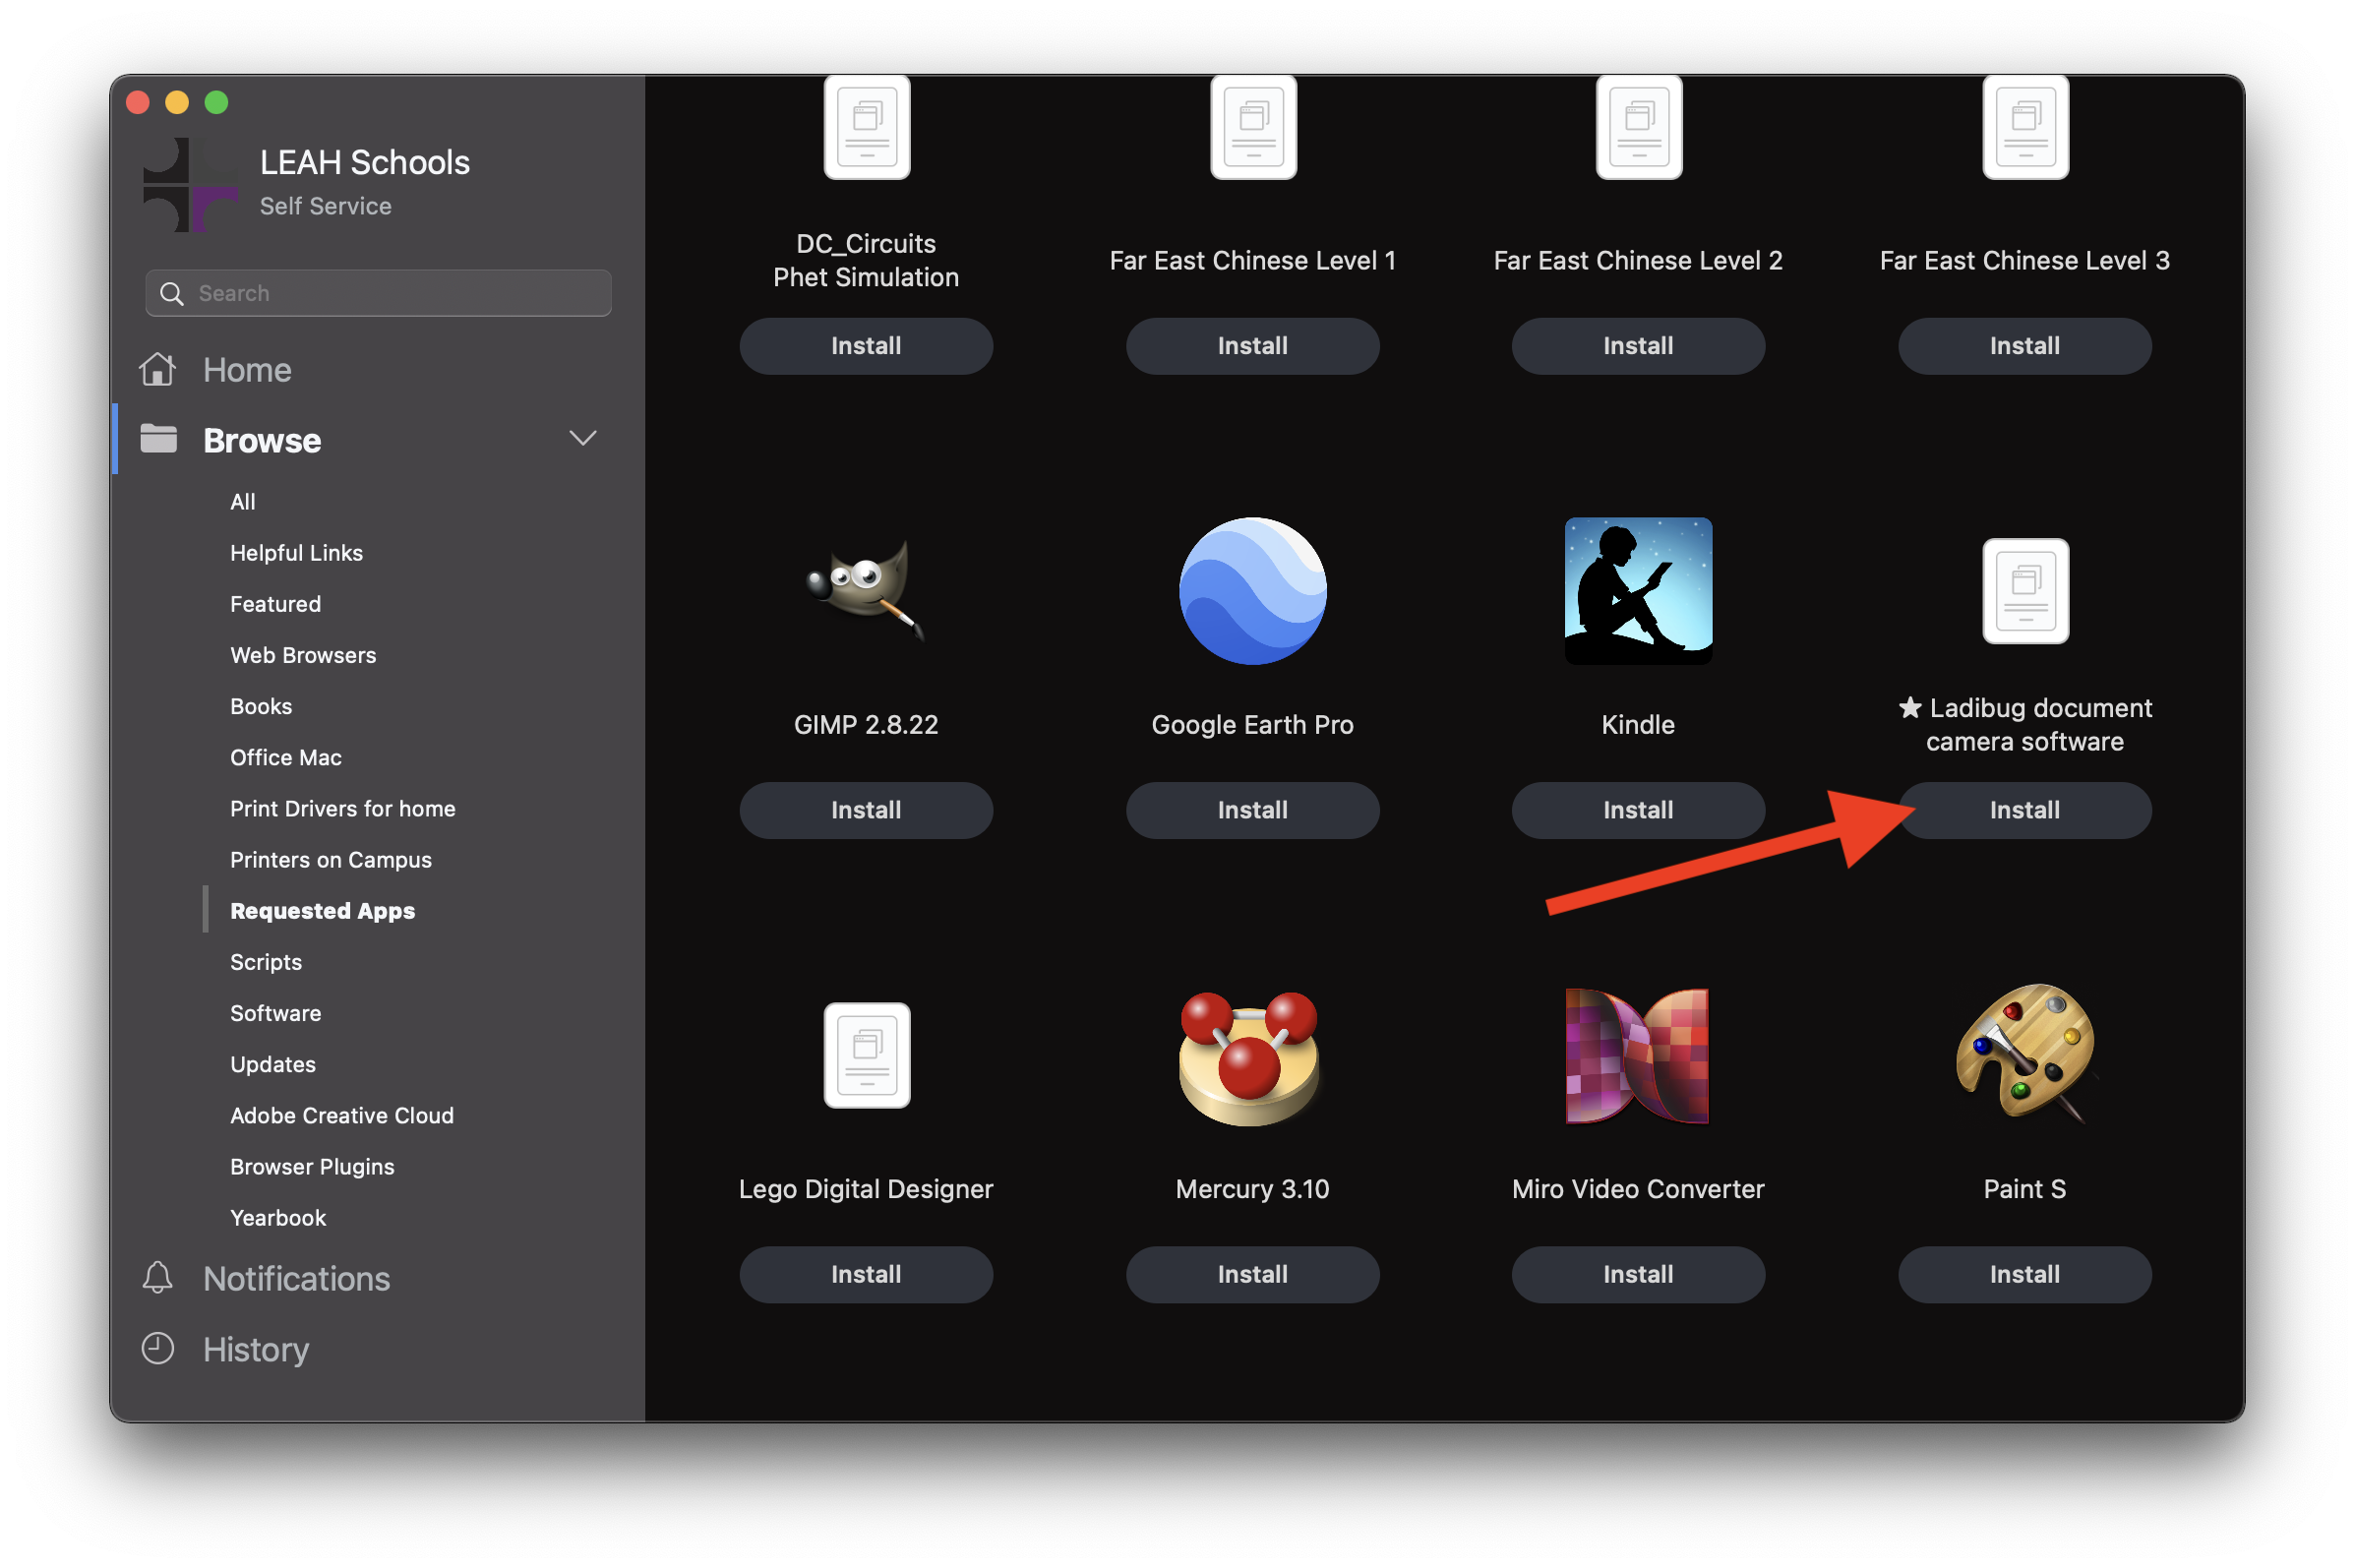
Scroll down until you see the "Ladibug document camera software" and click install
Wait a few minutes for it to install
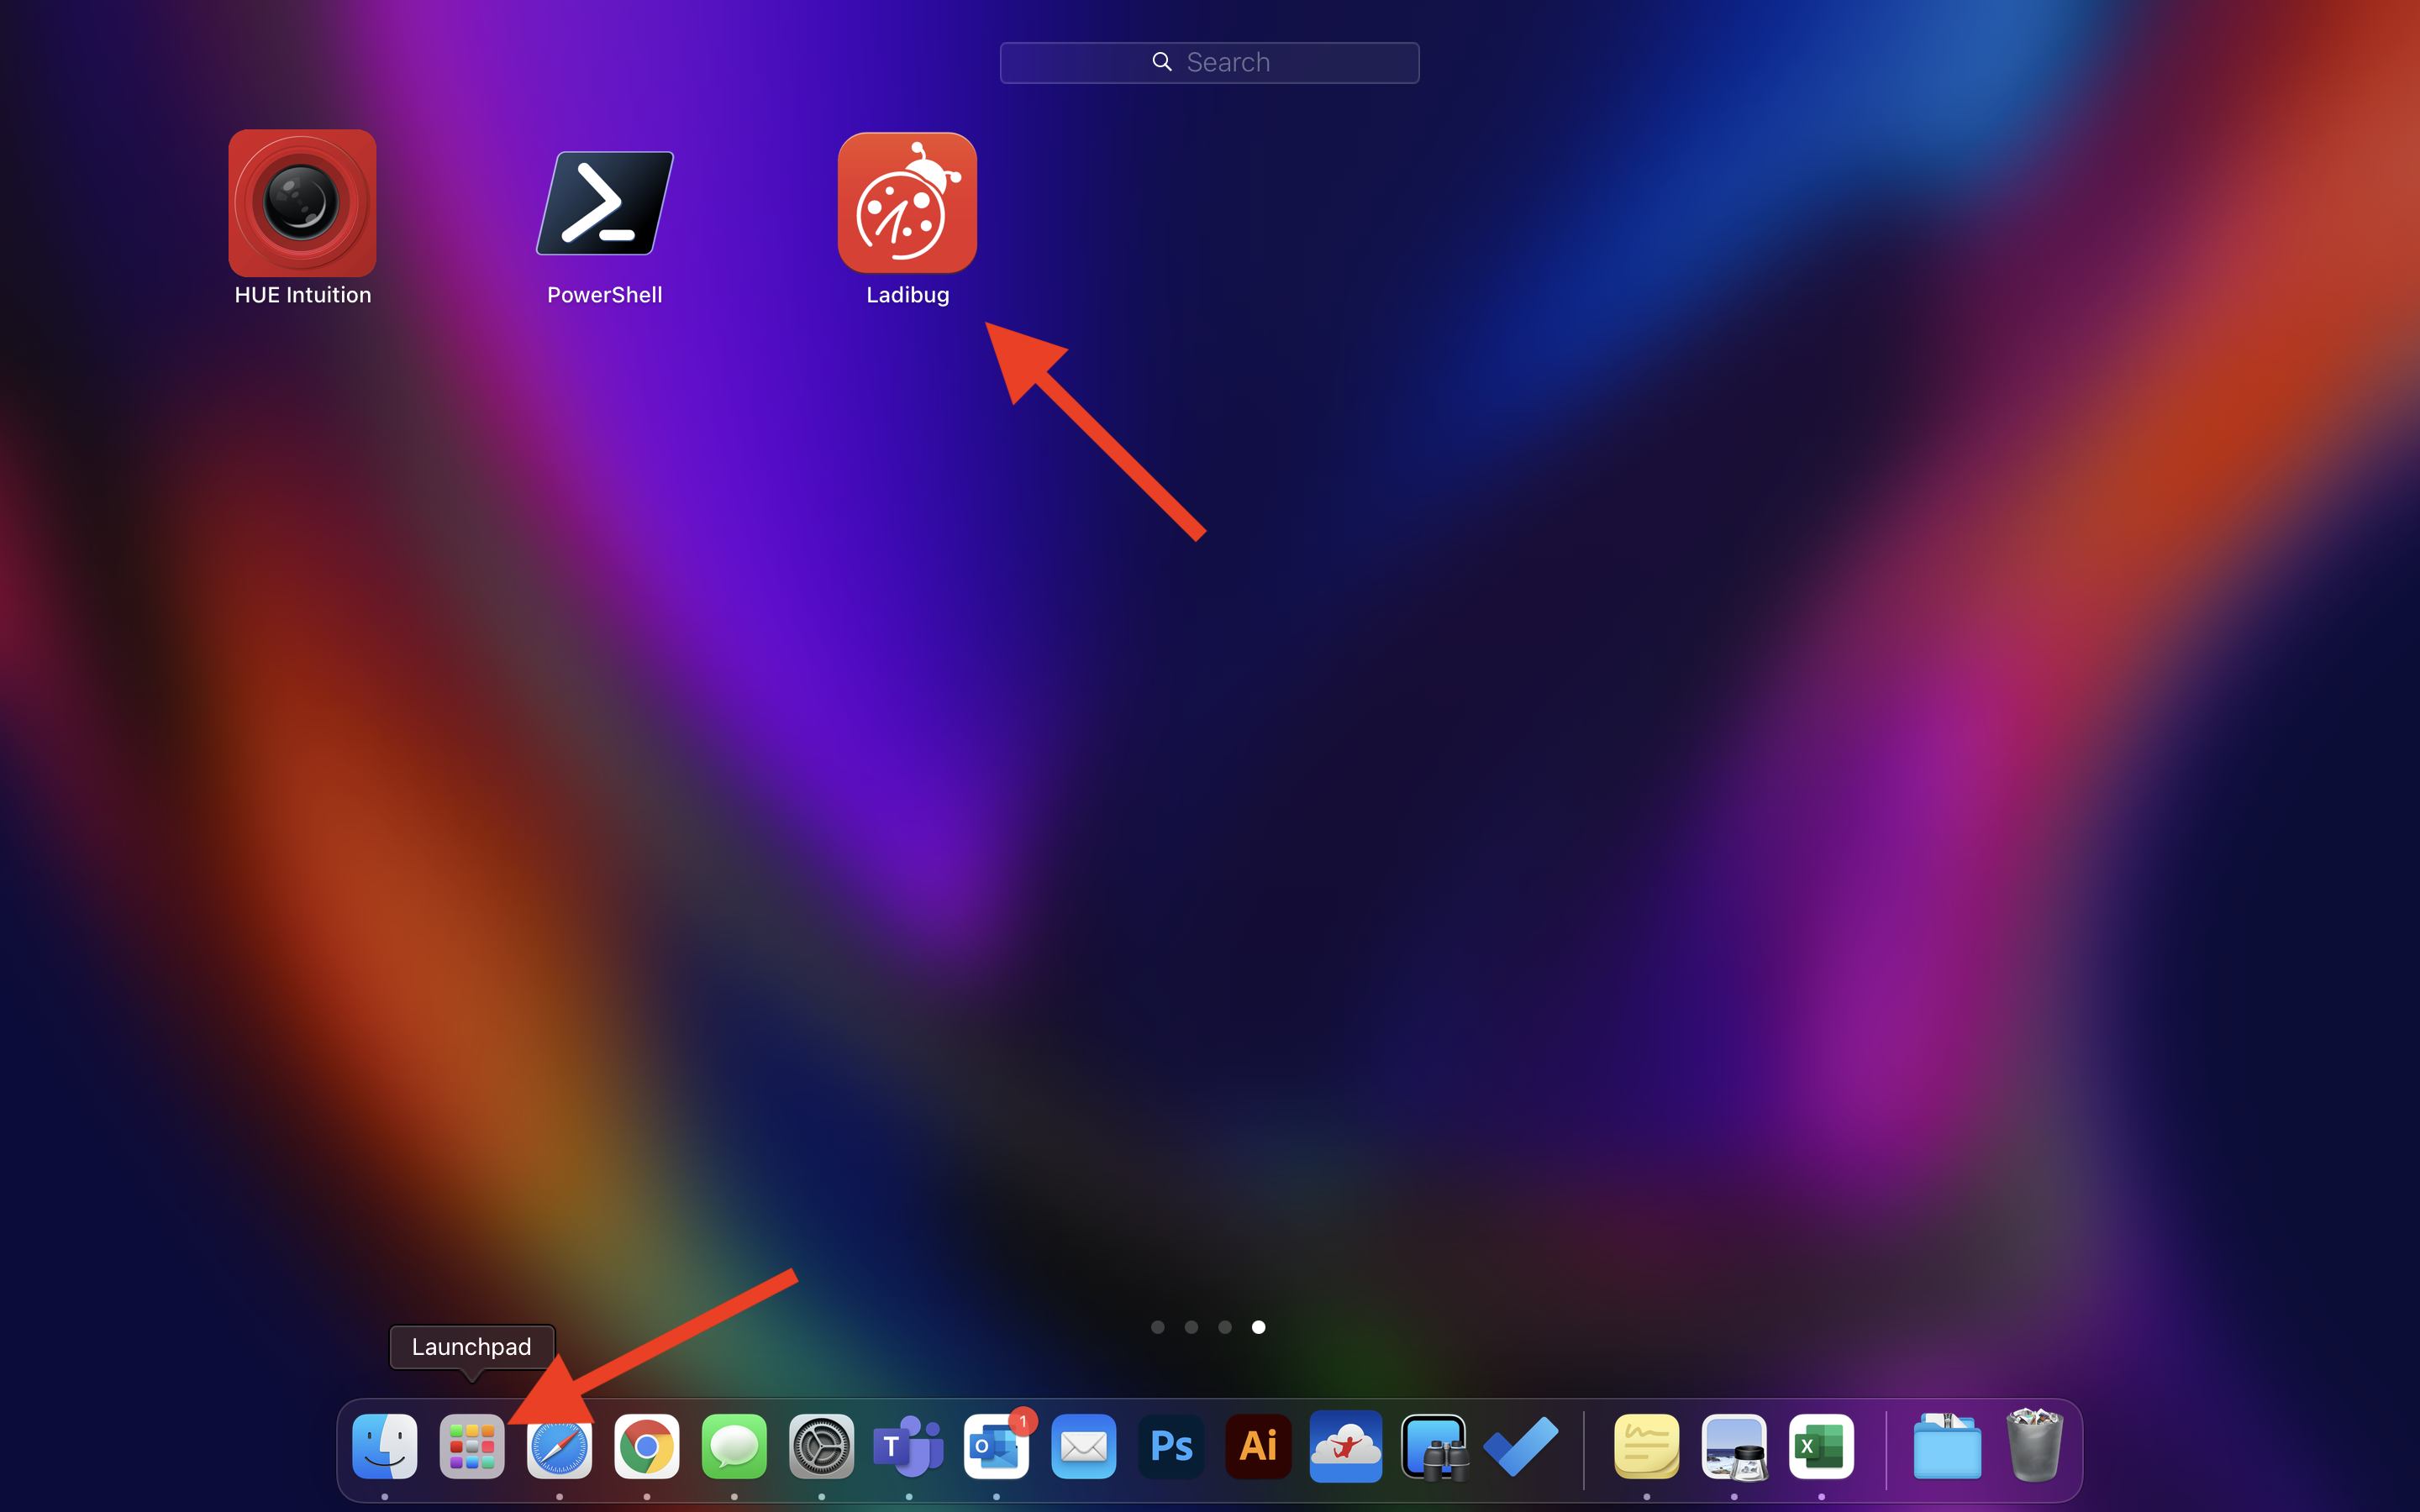
You can verify that the software installed by clicking on your launchpad and looking for the Ladibug icon. You won't open it until after we plug in the document camera, though.
Connecting your Ladibug to your computer
Connect the USB cable to your computer. If you have a computer with USB-C ports, you'll need to connect the Ladibug cable to your adapter and then to your computer.

Open the Ladibug software
Click on your launchpad (in some versions of MacOS, it looks like a grid, in older versions a rocket), and click on the Ladibug icon
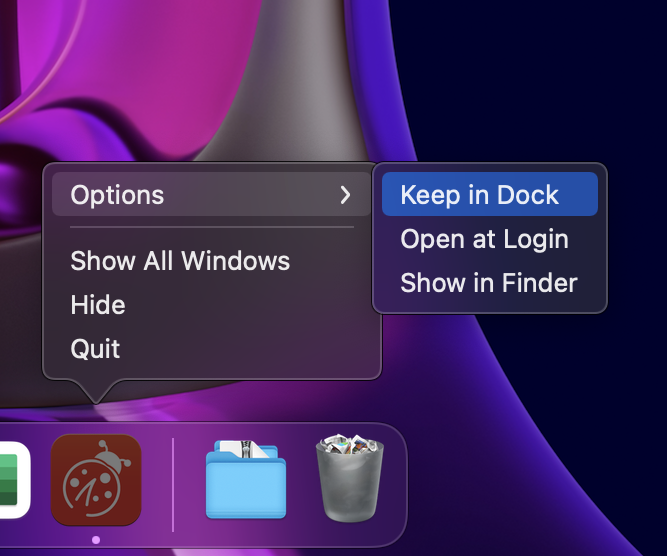
After it opens, you can hold down on the icon, go to "options" and then "keep in dock" if you'd like to keep a shortcut at the bottom for easier access.
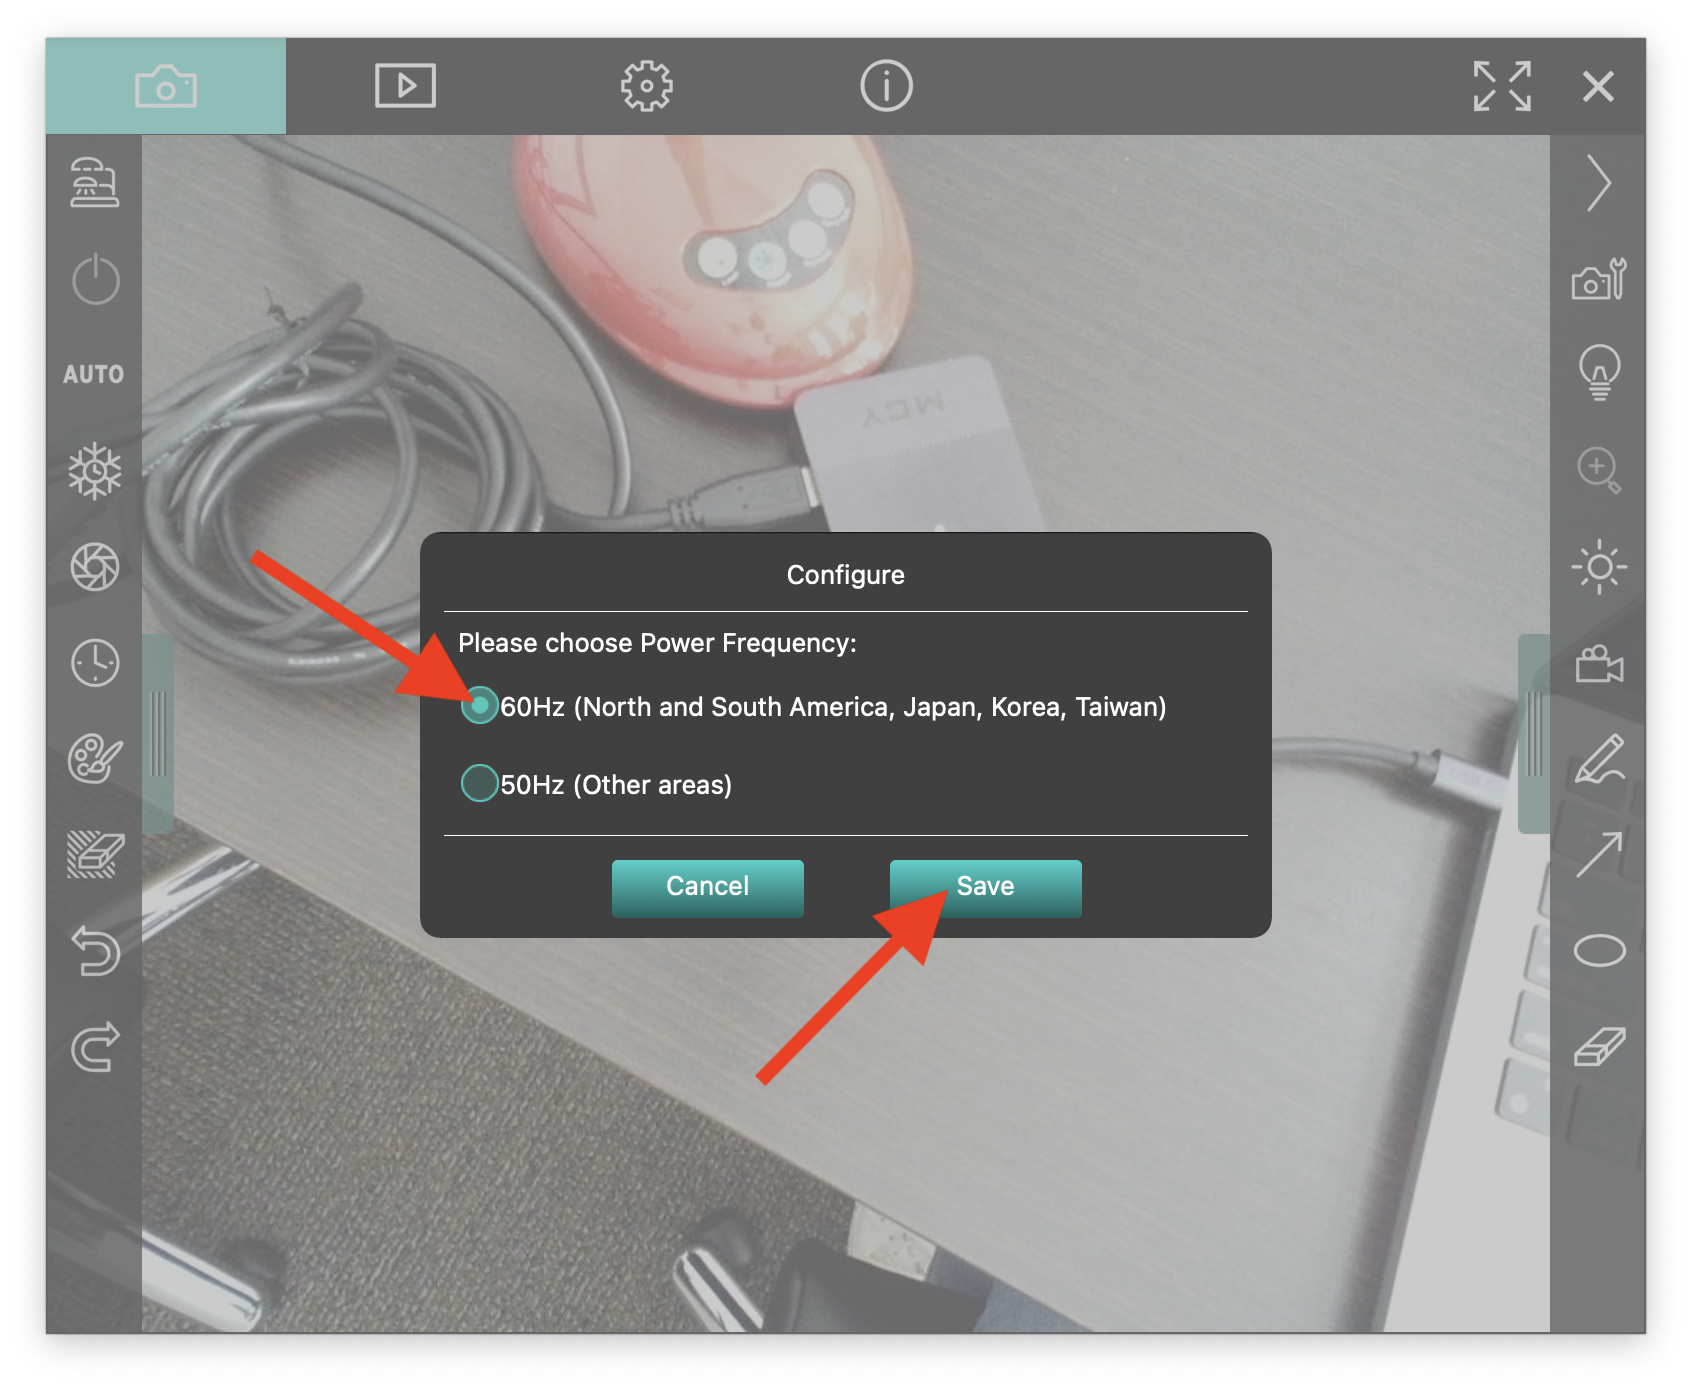
The first time you open the software, you may see this dialog. Choose 60Hz and push "save"
Now you should see the image from your document camera.
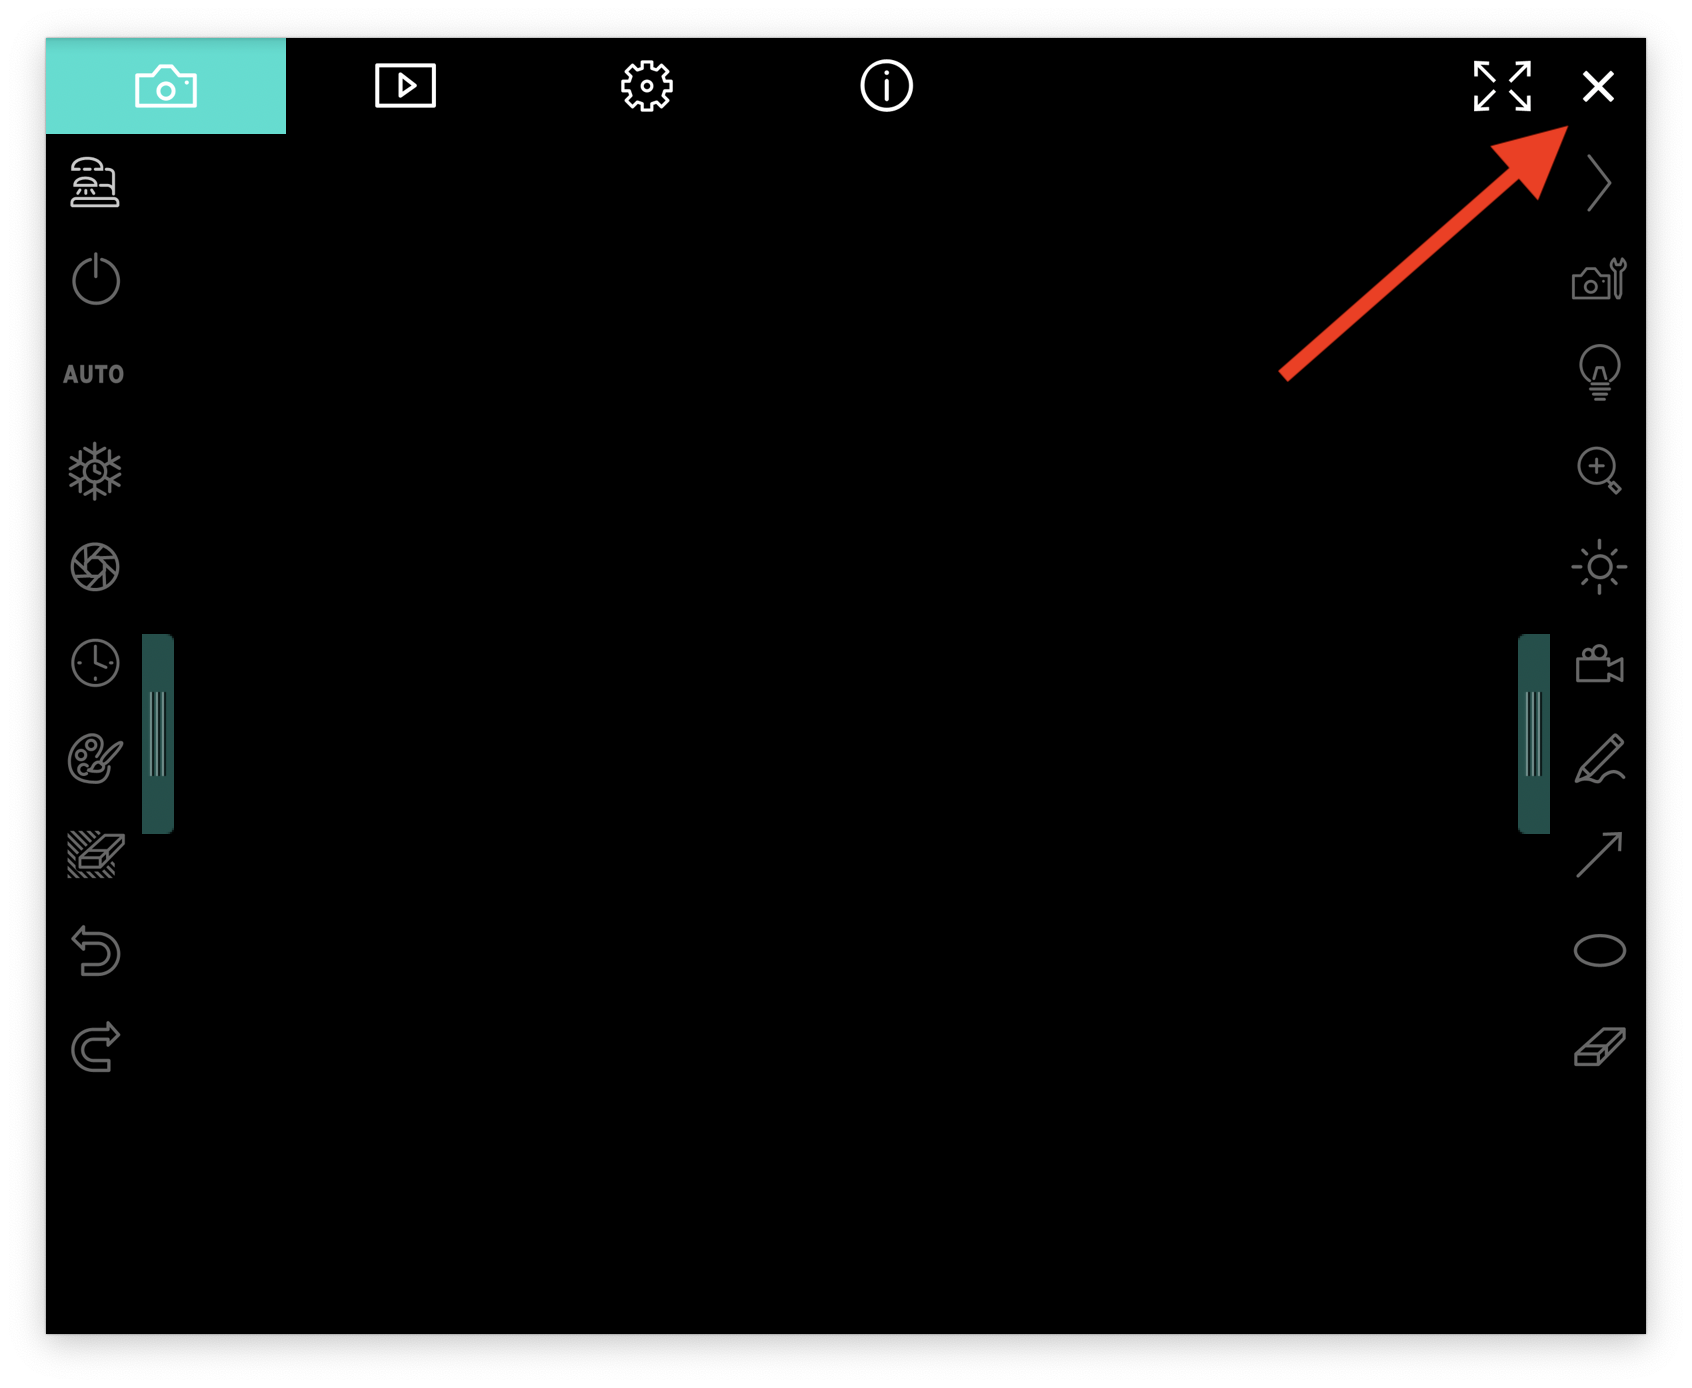
If you only see a black screen, make sure your camera is connected to your computer via USB, close the software with the X and then reopen it.
Learn more about the software
Learn about what your software does by watching this video: https://www.youtube.com/watch?v=fa3yi6uJzTE
Project your document camera
To show your document camera through your projector, just connect the VGA cable and adapter directly to your computer while you have the Ladibug connected via USB and you have the software open.