
Office 365 Groups allow you to collaborate with students, share files, share a calendar, and share a OneNote notebook.
What do groups consist of?
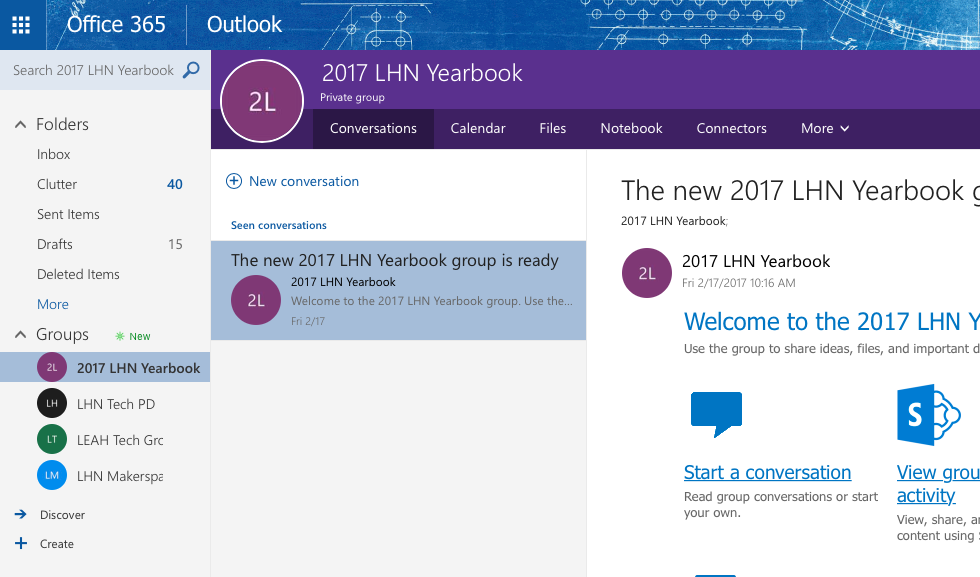
Conversations
When you create a group, you are given an email address. When you send to that email address, it will send to all members of your group. Members will either see the email conversation when they visit their group, or in their regular email.
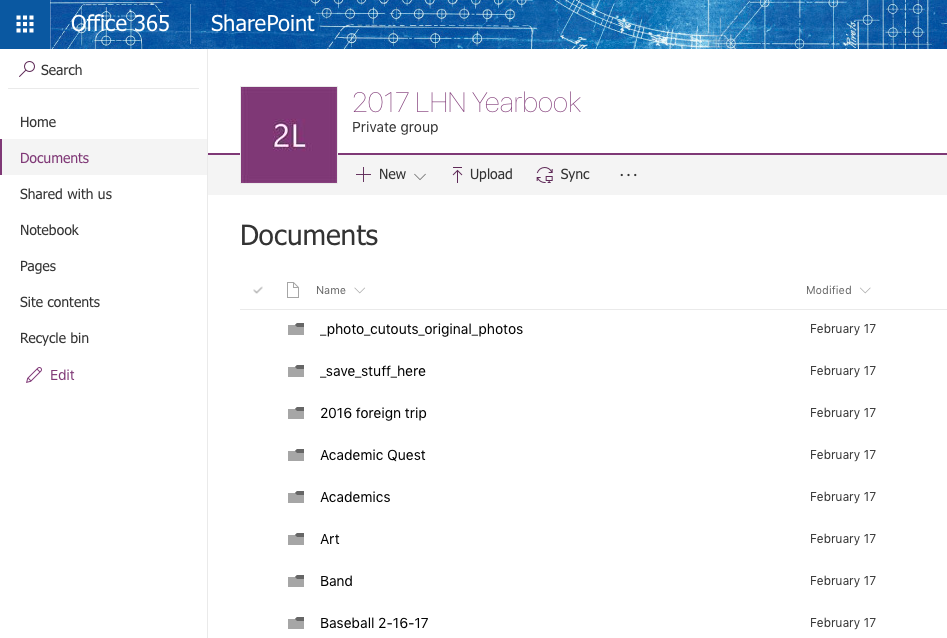
Shared Files
You are given a shared file space. All members can upload or download files to and from this shared space.
Shared Calendar
You are given a new calendar that is automatically shared with your group members

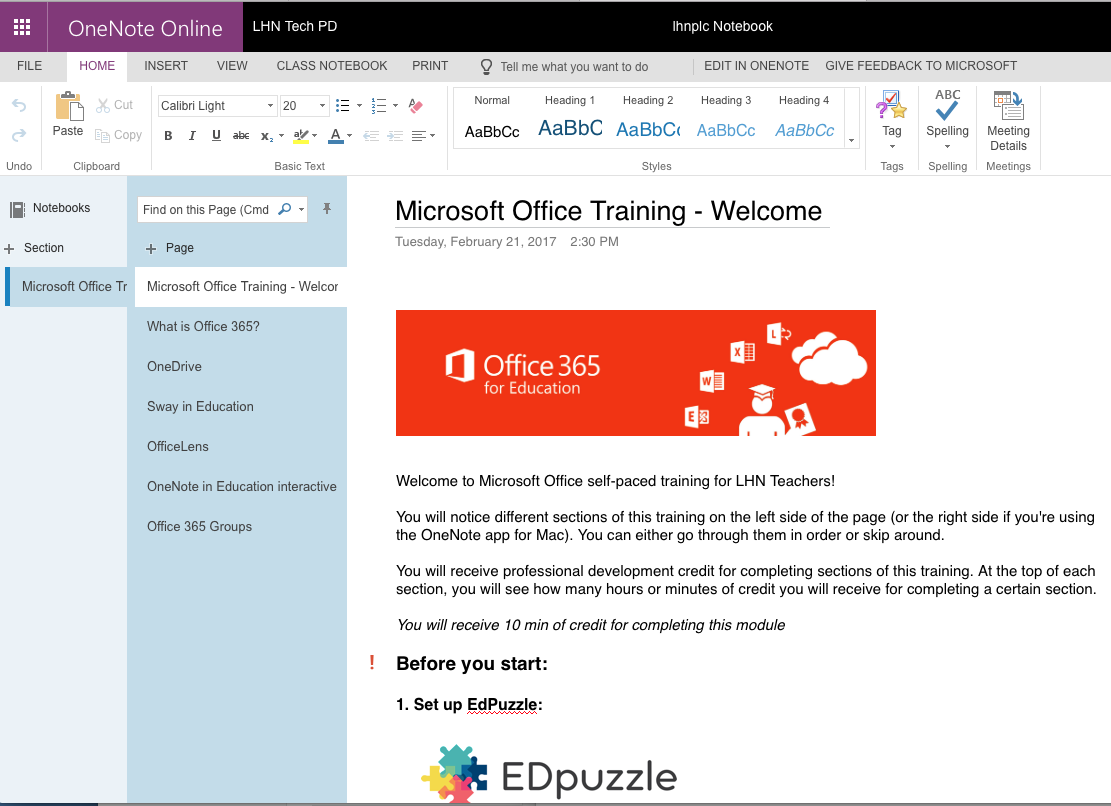
Shared OneNote notebook
A shared notebook is created for your group. Everyone can edit the pages in this notebook. This is a great tool for collaboration.
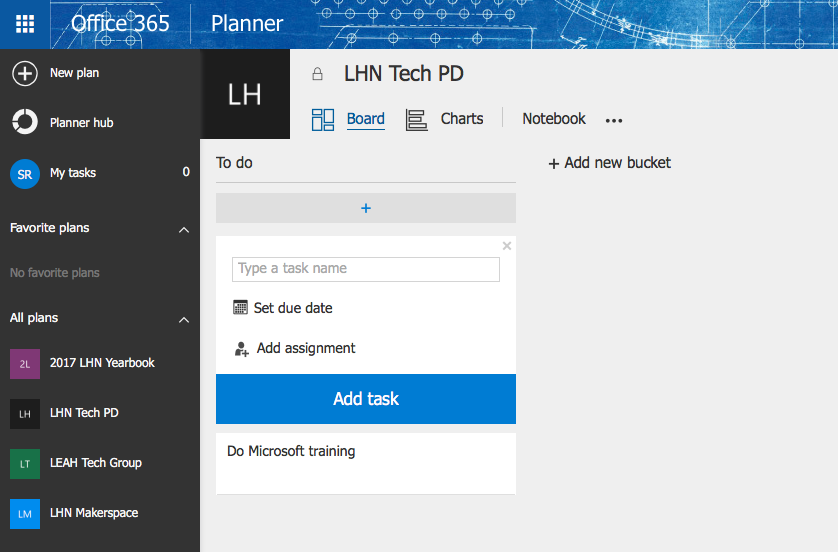
Shared Task area
Create to do type lists - assign tasks to specific people, create due dates
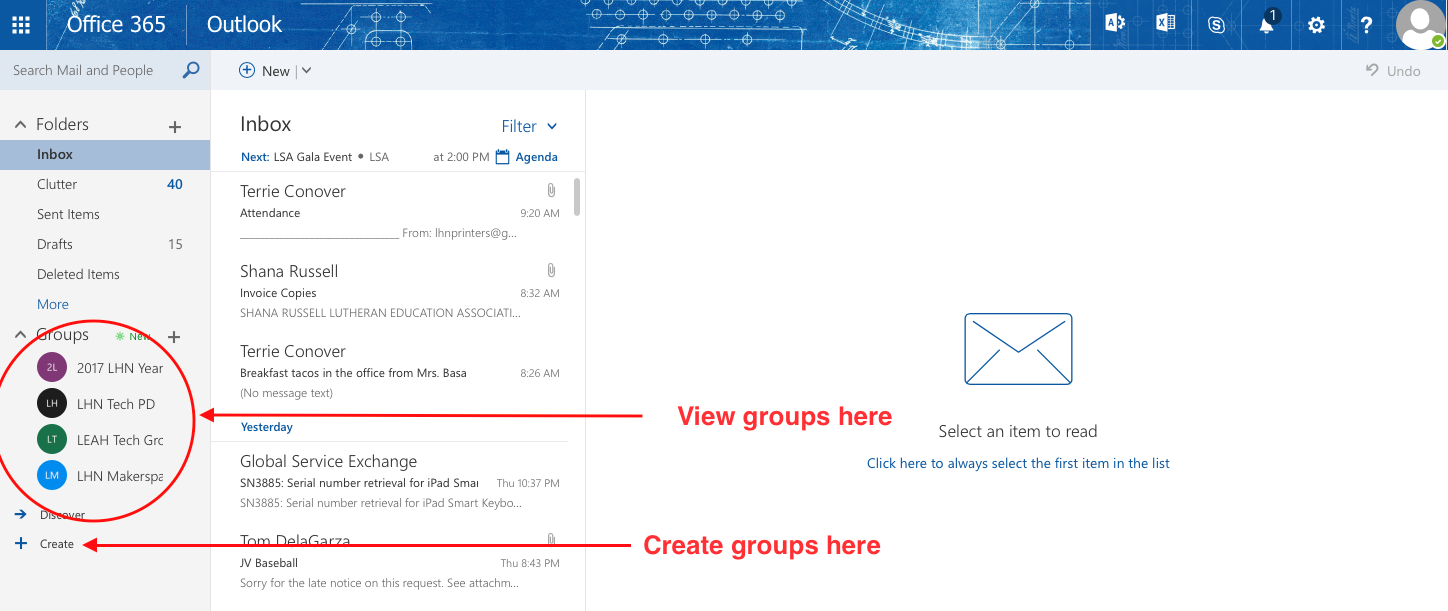
Viewing groups
Viewing through a web browser
The easiest way to view your group and all of it's different parts is through a web browser. Just go to your email (outlook.office365.com). Any groups that you are a part of will be listed there. This is also where you create a new group.
Viewing on a mobile device
On an iPad or iPhone, you can view your groups using the Outlook Groups app. To view your shared OneNote notebooks on an iPhone or iPad, you will need the OneNote for iPad app.
There are also apps available for Windows phones and tablets
Other ways of viewing
Because group emails can be sent to your normal inbox, you can view group conversations wherever you normally view your emails.
You can view your group OneNote notebooks in your OneNote for Mac application.
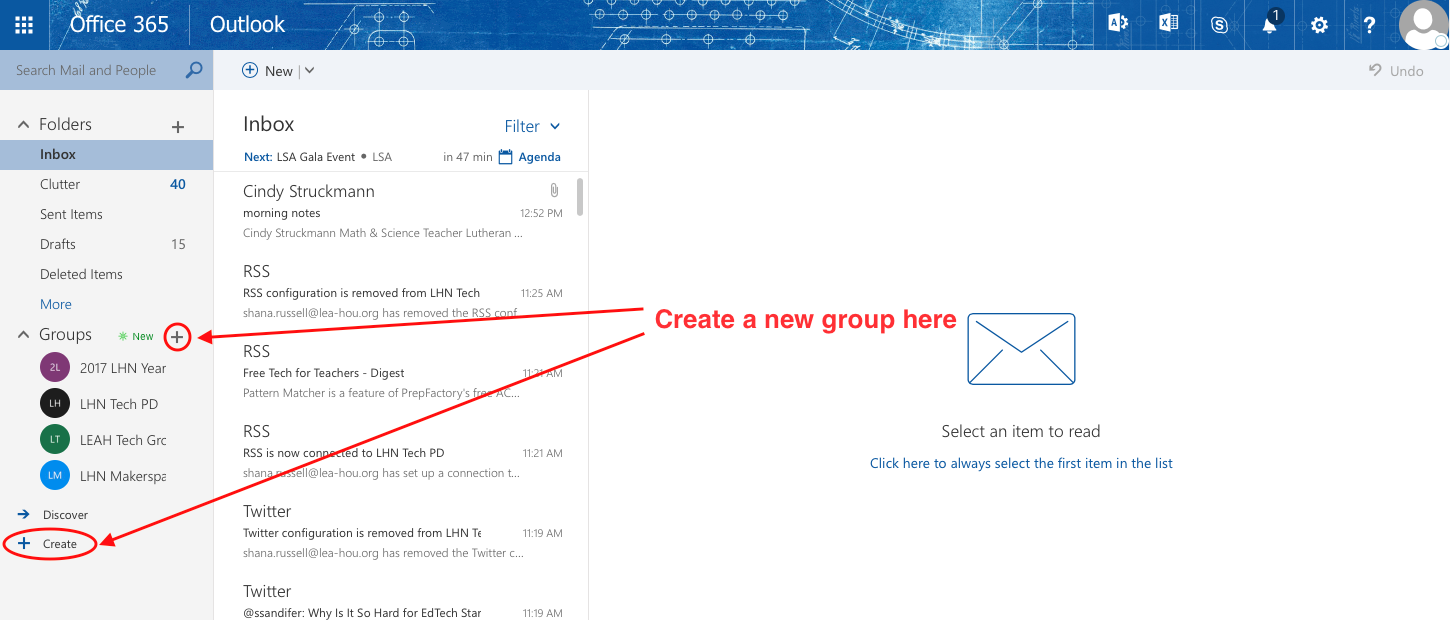
Create a new group:
In a web browser, open your email (outlook.office365.com)
Click on the + next to groups or the create button at the bottom:
Choose "standard group" unless you are actually creating a group for a PLC (PLC has several built-in notebooks that can help you with collaboration in a PLC):

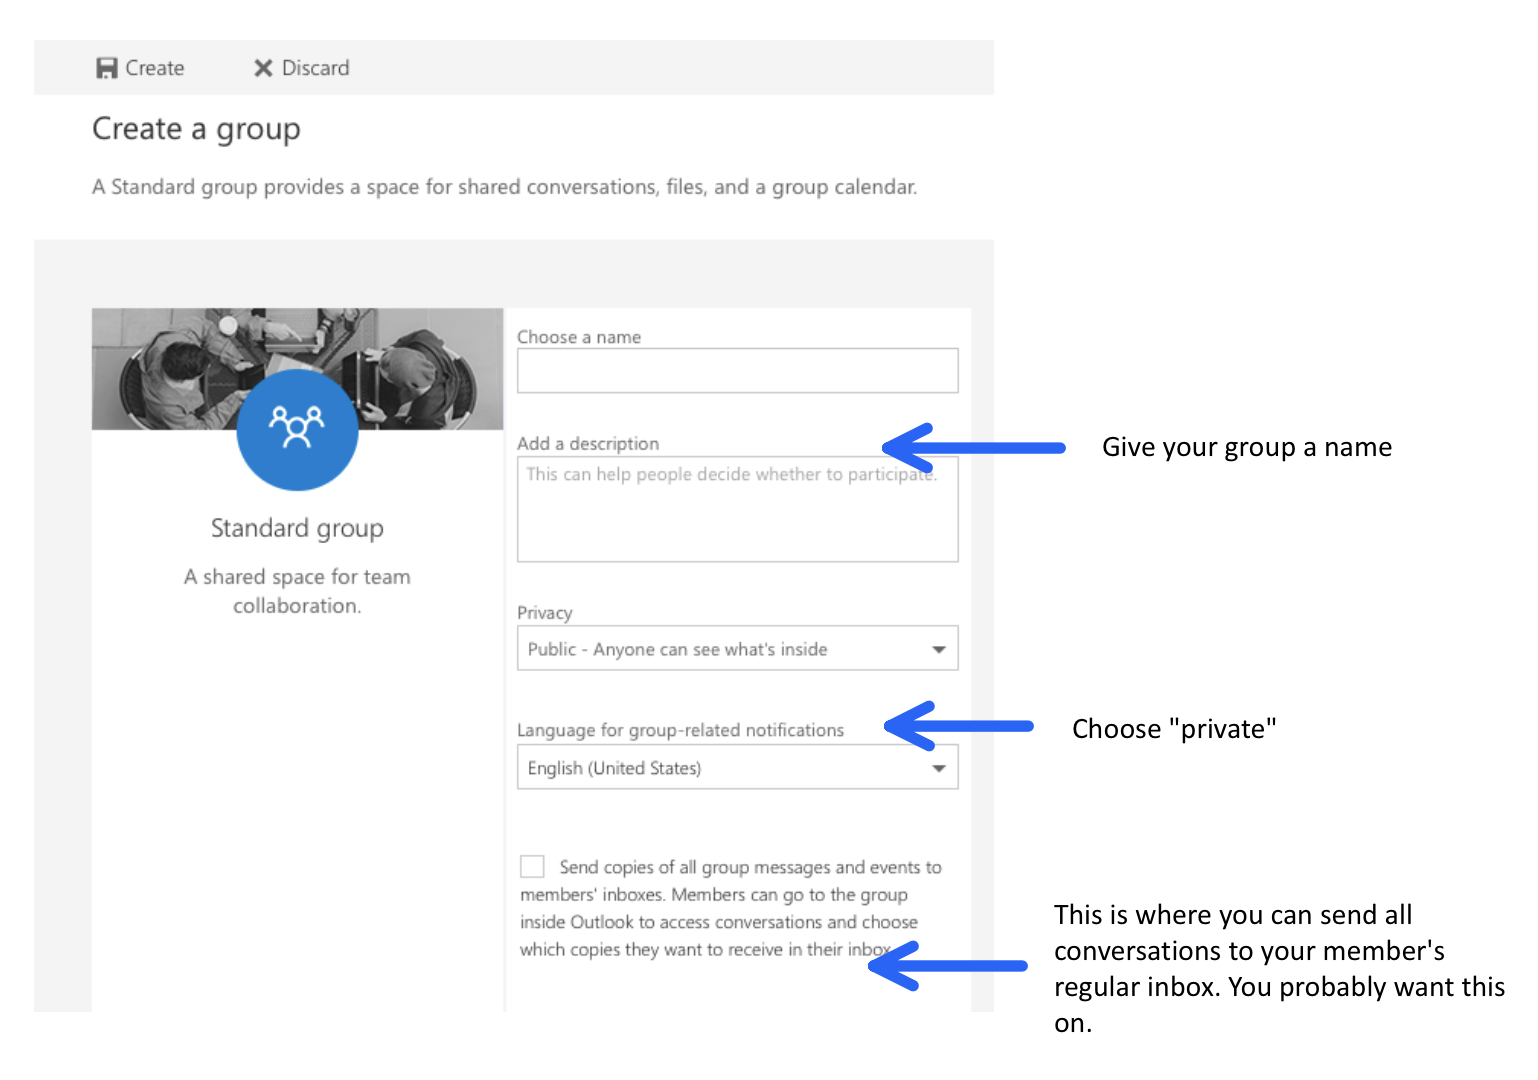
Click "create" at the top of the window when you're finished
In the next window, you can start adding group members. If you'd rather add them later, just click "not now"
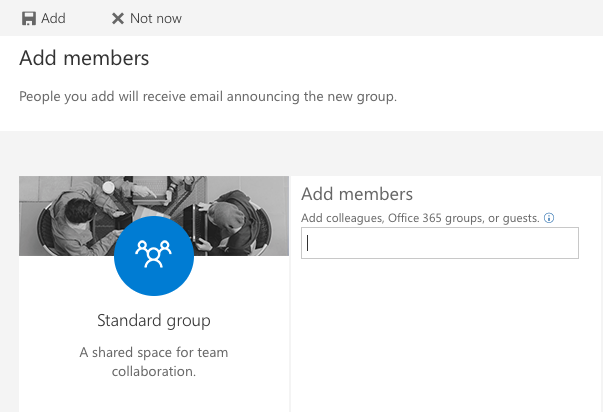
Now your group is ready!
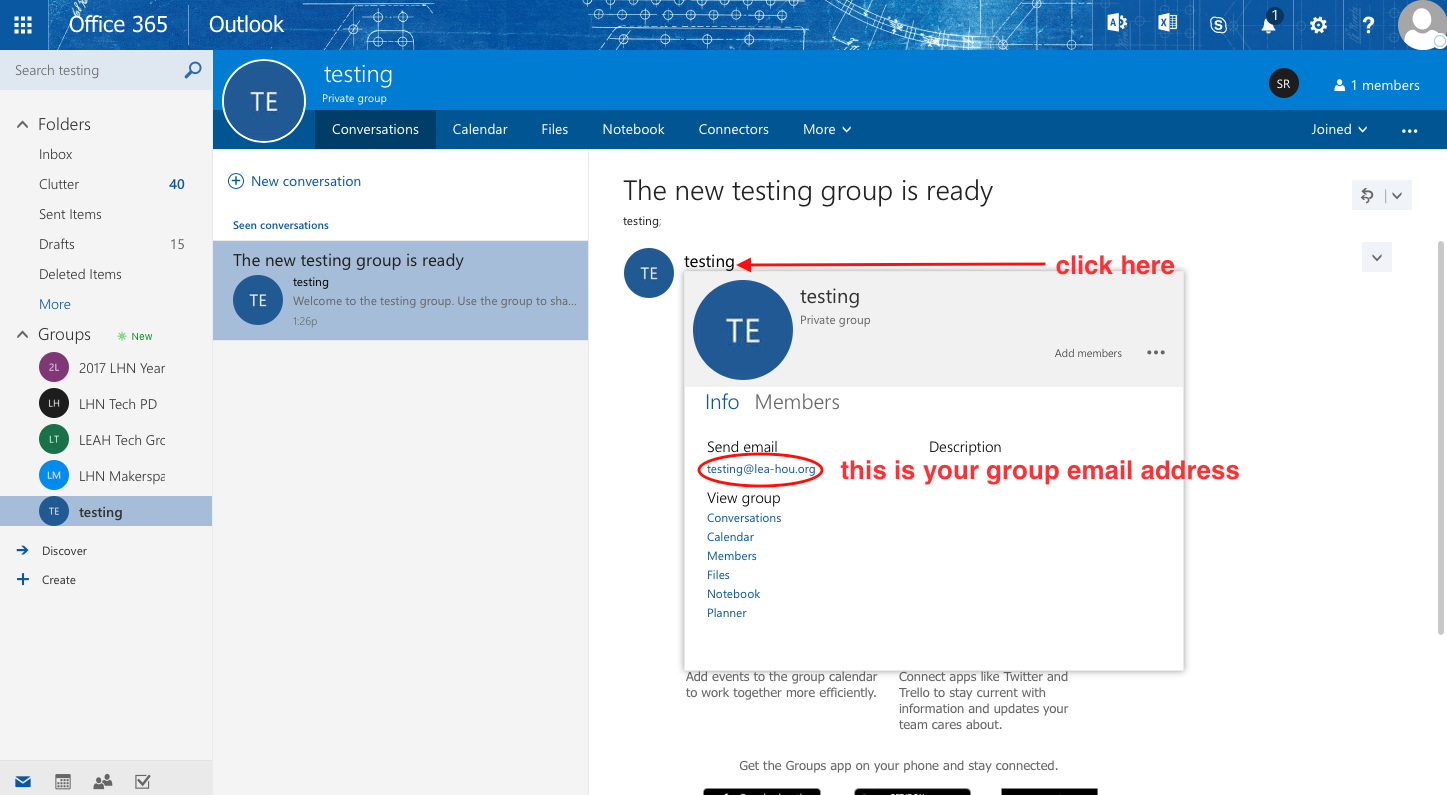
In the first email of your group, click on the name of your group to see the group's email address. Any group member who sends an email to this address will send it to everyone in the group.
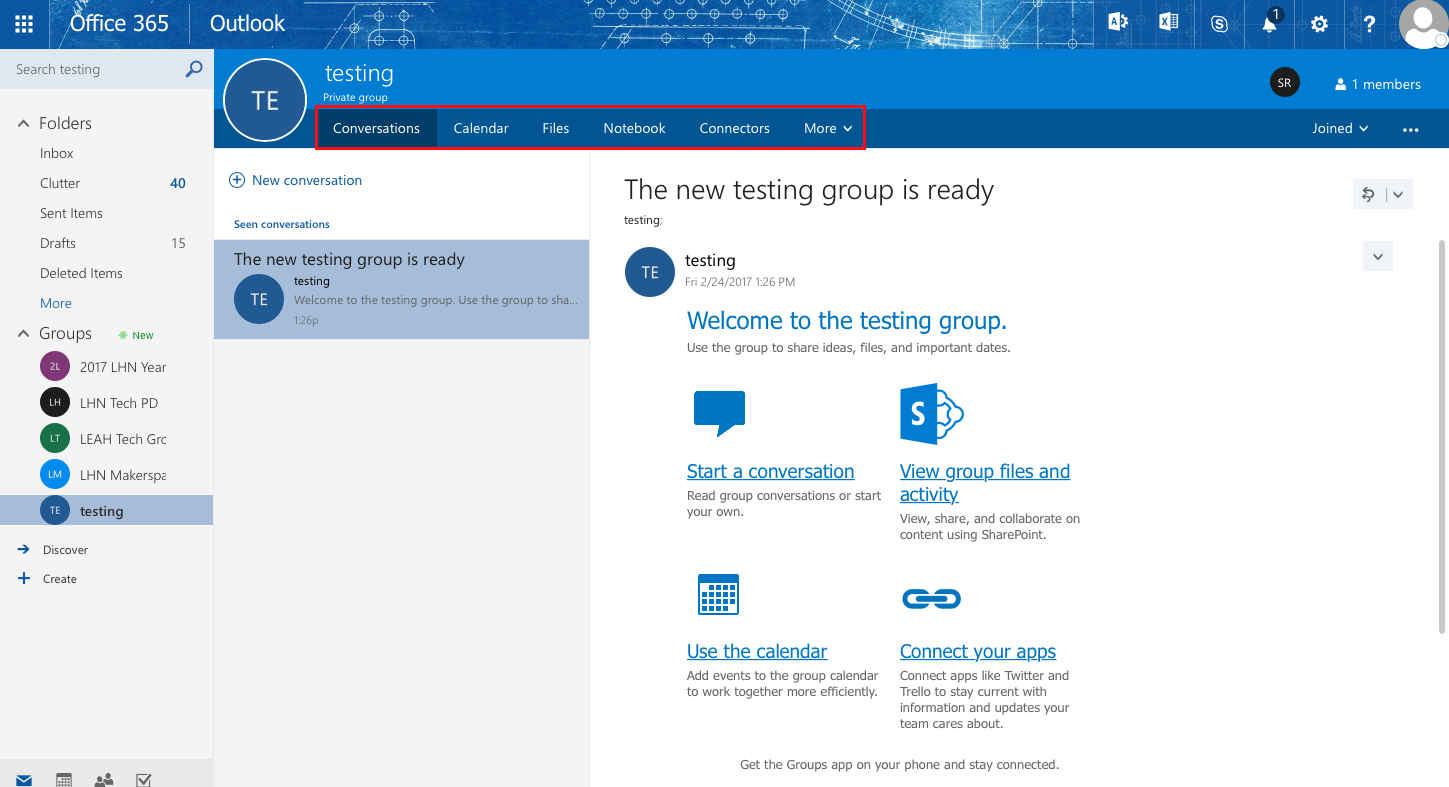
Use the top area to navigate to different sections of your group:

Explore the features:
Now that you've created your group, it's time to start exploring the features. Click through the different areas of the group and experiment. If you would like a guide, use the links below: